Visual Prototypes
The best way to show your Product Vision.
As they say, a 1000 miles journey starts with the first step. And the first step is always hard. And this equally applies to software product development. Many stumbles upon defining and explaining the scope of their product vision to others (co founders, investors, developers, customers, advisors).
Talking is easy. But when it comes to sharing on paper, there are roadblocks and mind blocks. Founders are often challenged by the pressing questions and it takes ages to roll out their exact needs out on the paper.
Road Blocks And Mind Blocks
- How to map business requirements to technical need
- How much functionality to add to the scope
- How to define the priority of the functional requirements
- What are the various user roles, access controls and user actions
- What are the inputs triggered by the user action, and corresponding outputs
Visual Prototypes are a good first step towards getting an early POC (proof of concept) and achieving conceptual clarity. It helps to gather early feedback from potential customers and users, and is critical in aligning the thought process and quick pivots.
This is an iterative phase and constant feedback helps solidify this to an extent of bringing out a complete visual prototype that illustrates your entire products and is good enough for your presentations and discussions.
Key Benefits
- Easiest and the fastest way to explain a concept
- Any one can do it, using a pencil and a paper if not tools
- Saves time, because iterative changes can be quickly done
- Saves cost, because software iterations are expensive
- Outcome` serves as a solid starting point for development
- Product roadmap will turn out to be more realistic
Types And Tools
Visual prototypes can be produced in various forms. It all depends on how refined one wants it to be.

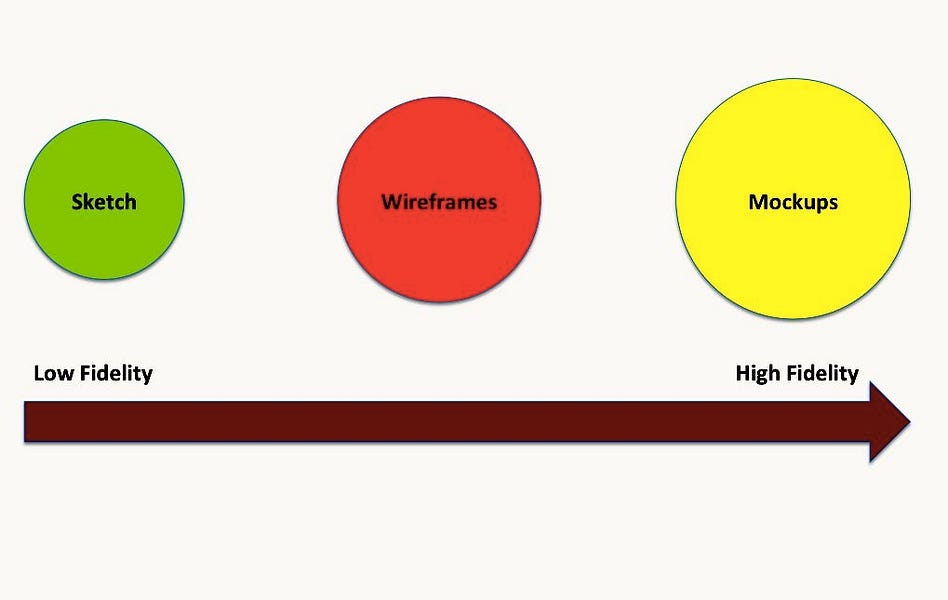
Pencil Sketches can be the quickest way to roll out what is in the head. They are usually raw but give a quick product vision. Saves you from any technical limitations of using any tools. You can use an eraser to polish your thoughts.
Wireframes are usually more refined, though without any visual appeal. They can be developed using various tools, Balsamiq being widely used. It helps replicate the frames with minor changes, enables to quickly cover every corner case and also allows linking various screens together.
Balsamiq wireframes allows you to develop a working prototype with an ability to click and navigate as desired. The tool is pretty easy to learn with not much technical knowledge required.
Mockups are usually the finest form, developed using UI tools like Sketchor Photoshop. They allow to further highlight the minute details like colors and graphics and represents the closest form to the envisioned product. Though they require the technical skills to operate the design tools.
Some More Terminology: Hi-Fidelity and Low-Fidelity prototypes are commonly used terms also abbreviated as Hi-Fi and Lo-Fi. Fidelity refers to the scale of how closely something matches the other thing. Low-Fidelity prototypes are low tech, raw and highlevel. High Fidelity prototypes are the closest macth to the actual UI.
Collaboration and consolidation on the scope and prototypes is often hard between the teams. Invision App, serves as a great collaboration tool where you can upload all your sketches, wireframes or mockups. Start iterating along with your teams and lock down your discussions.
Start building the visual prototypes in order to release fast, focus on UI/UX, and get the feel of your working product.